

Ristede tykke svineribben med appelsin- og ingefærglasur og kålsalat med citron, persille og ristede mandler

Ingredienser
- ca. 1,1 kg/2,42 lb tykke svineribben
- 2 gule løg
- 15 sorte peberkorn
- 2 teskefulde salt
- 1 kød-bouillonterning
- 3 laurbærblade
- Appelsin- og ingefærglasur
- Kålsalat med citron, persille og ristede mandler
Udstyr
Instruktioner
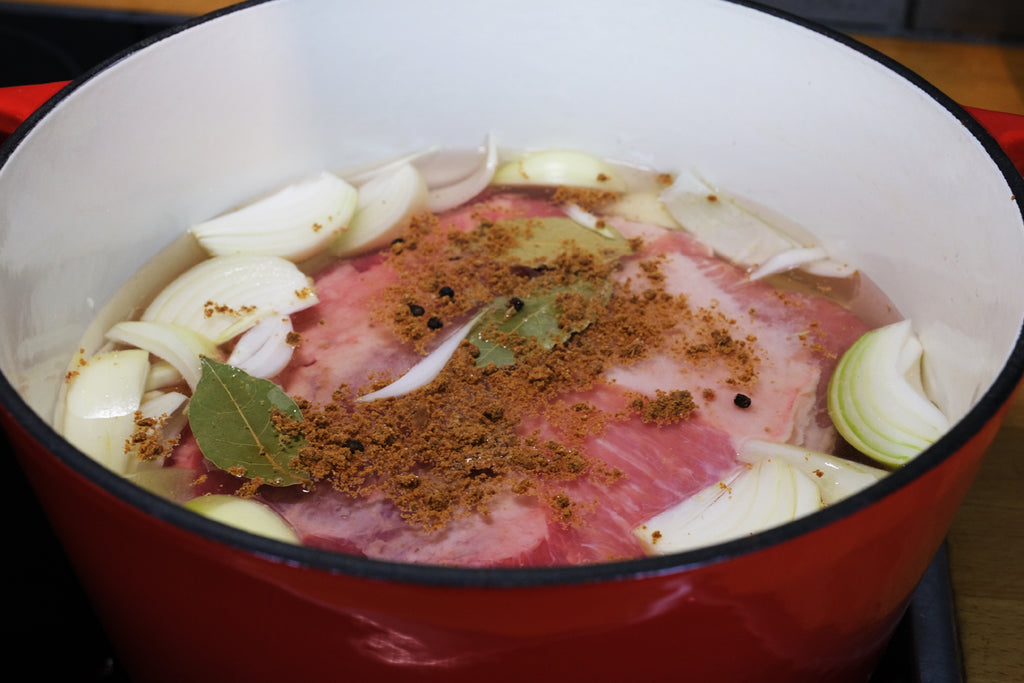
- Skræl og skær løgene i både.
- I en Dutch oven lægges kødet sammen med løg, peberkorn, salt, laurbærblade og smuldrede bouillonterninger. Dæk med vand og bring i kog.
- Fjern eventuelt skum og lad ribbenene simre forsigtigt i 1 1/2 time. Hvis nødvendigt, hæld lidt vand i fra tid til anden, så det altid dækker kødet.
- Forbered kålsalaten.
- Hæld om nødvendigt lidt vand i fra tid til anden, så det altid dækker kødet.
- Indstil ovnen til 225˚C/435°F.
- Kog glasuren.
- Vend ribben i glasuren og læg dem i en støbejernspande.
- Sæt cast iron pan midt i ovnen i cirka 25 minutter, vend kødet fra tid til anden og pensl rigeligt med den resterende glasur.
- Server med kålsalat og lidt ekstra glasur ved siden af, hvis nogen ønsker lidt ekstra glasur.


GEM EN OPSKRIFT TIL SENERE?
Hvis du vil gemme denne opskrift til senere, kan du udskrive den, bogmærke siden eller gemme den på Pinterest.
Sådan udskriver du en opskrift uden billeder
- Gå til https://www.printfriendly.com/
- Indtast linket til opskriften i inputfeltet og klik på "Preview"-knappen.
- I forhåndsvisningen, hold musen over det element, du ikke ønsker at udskrive (billeder eller andre elementer), og klik på skraldespandsymbolet for at fjerne det.
- Når du er færdig, klik på udskrivningsknappen.


Efterlad en kommentar