

O Segredo para Selar: Como Conseguir a Crosta Dourada Perfeita Sempre

Não há nada como o aroma e sabor irresistíveis de um bife perfeitamente selado, salmão com bordas crocantes ou legumes assados dourados. Essa crosta profunda e caramelizada não é só para a aparência — é onde reside o sabor. A boa notícia? Com a técnica certa e o cookware adequado, pode dominar a arte do selar em casa.
Quer esteja a usar uma confiável cast iron skillet ou um Dutch oven da Crucible Cookware, este guia irá ajudá-lo a obter aquele selado perfeito, todas as vezes.
Por que o selar é importante
O selar cria o que é conhecido como a reação de Maillard — o processo químico que ocorre quando proteínas e açúcares nos alimentos são expostos a altas temperaturas, criando sabores complexos, saborosos e ligeiramente doces. É a diferença entre um peito de frango pálido e insípido e um que está deliciosamente dourado e cheio de sabor.
Para além da aparência, um bom selar retém a humidade, constrói profundidade de sabor e forma a base para molhos e gravies incríveis.
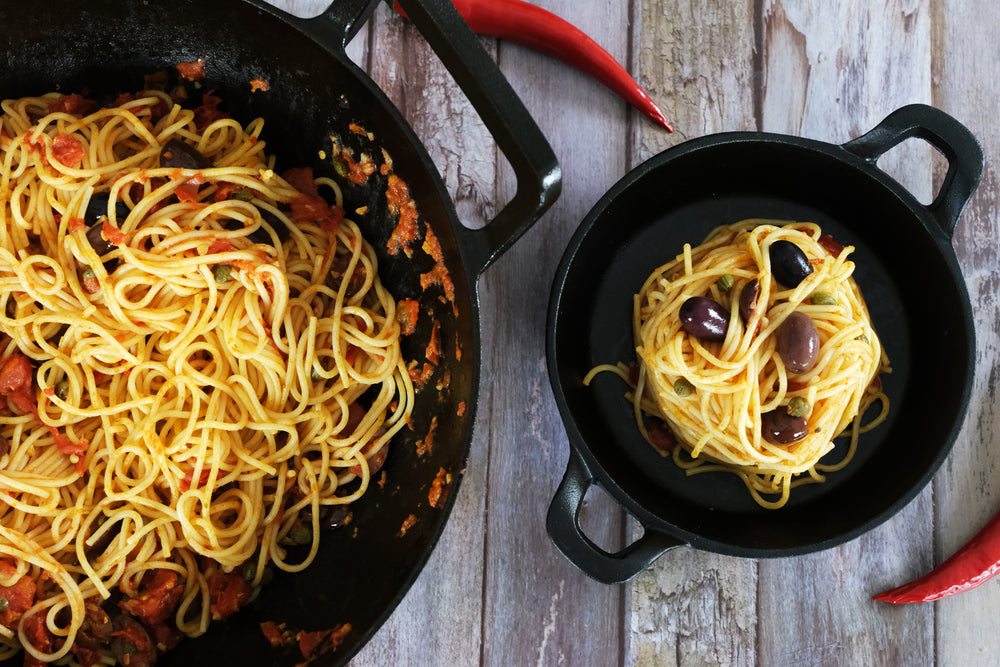
A Melhor Cozinha para Selar
Nem todas as frigideiras são iguais. A chave para um excelente selar é a retenção de calor e a distribuição uniforme do calor, onde a Crucible Cookware de ferro fundido se destaca.
Recomendado:
-
Cast Iron Skillet – Perfeita para bifes, costeletas, peixe e legumes.
-
Dutch Oven – Ideal para cortes maiores de carne, estufados, ou quando quer passar do selar para o cozimento lento sem trocar de frigideira.
O peso elevado do ferro fundido garante que, quando coloca a comida na frigideira, esta se mantém quente — essencial para conseguir aquela crosta dourada.

Passo a Passo: Como Selar Como um Profissional
1. Pré-aqueça com Paciência
Dê à sua frigideira bastante tempo para aquecer em lume médio-alto. Quer que esteja quente, mas sem fumegar. Uma frigideira devidamente pré-aquecida garante que a comida sela em vez de cozinhar a vapor.
2. Escolha o Óleo Certo
Use óleos com um ponto de fumo elevado como óleo de abacate, óleo de grainha de uva ou óleo vegetal. Evite manteiga sozinha — queima rapidamente. Pode adicionar manteiga mais tarde para sabor.
3. Seque a Comida
A humidade é inimiga do selar. Seque as suas proteínas ou legumes com uma toalha de papel para evitar vapor e ajudar a criar uma crosta crocante.
4. Não Sobrecarregue a Frigideira
Demasiada comida na frigideira baixa a temperatura e impede o dourar adequado. Sele em lotes se necessário.
5. Deixe Estar
O maior erro? Mover a comida demasiado cedo. Deixe-a repousar sem ser perturbada até que se solte naturalmente da frigideira. É aí que sabe que a crosta está pronta.
6. Finalize na Perfeição
Depois de selar, termine a cozedura no forno ou reduza o calor, dependendo do prato. Para proteínas, deixe sempre repousar antes de fatiar para manter a suculência.
Selar diferentes ingredientes
Bifes e costeletas
Calor alto, uma boa quantidade de sal e paciência. Termine cortes grossos no forno para uma cozedura uniforme.
Peixe
Use calor médio e manuseie com cuidado. Filetes com pele beneficiam mais da técnica de selar.
Tofu
Pressione o tofu para remover a humidade, depois sele numa frigideira quente até ficar crocante de todos os lados.
Legumes
Legumes-raiz, cogumelos e couves-de-bruxelas desenvolvem uma caramelização fantástica quando selados antes de assar ou estufar.

Dica profissional: Deglace para um sabor extra
Depois de selar, vai notar pedaços dourados presos no fundo da frigideira (fond). Isto é puro sabor. Deglace com vinho, caldo ou até água para criar um molho instantâneo — perfeito para verter sobre o seu prato.
Cuidados com o seu ferro fundido após selar
Após cozinhar em alta temperatura, dê um cuidado especial à sua frigideira:
-
Deixe arrefecer ligeiramente antes de limpar.
-
Enxague com água morna e esfregue suavemente (sem sabão para ferro fundido sem revestimento).
-
Seque completamente e aplique uma camada fina de óleo para proteger a cura.
Com o uso regular, o seu utensílio de cozinha só melhora com o tempo.
Pronto para selar?
Selar não é só para chefs — é para quem adora criar sabores intensos na sua cozinha. Com as técnicas certas e o seu Crucible Cookware ao seu lado, conseguirá dominar a crosta dourada em tudo, desde jantares durante a semana a banquetes de fim de semana.


Deixe um comentário